Scratches, Dents and Bumps on Your Car
▶️ Scratches, Dents and Bumps on Your Car
Repair minor damage yourself – from preparation to finish
Difficulty
Medium
Time
3-5 Hours
Cost
€80-150
Savings
€400-800 vs. Body Shop
Tools
Sanding Block
Video Tutorial
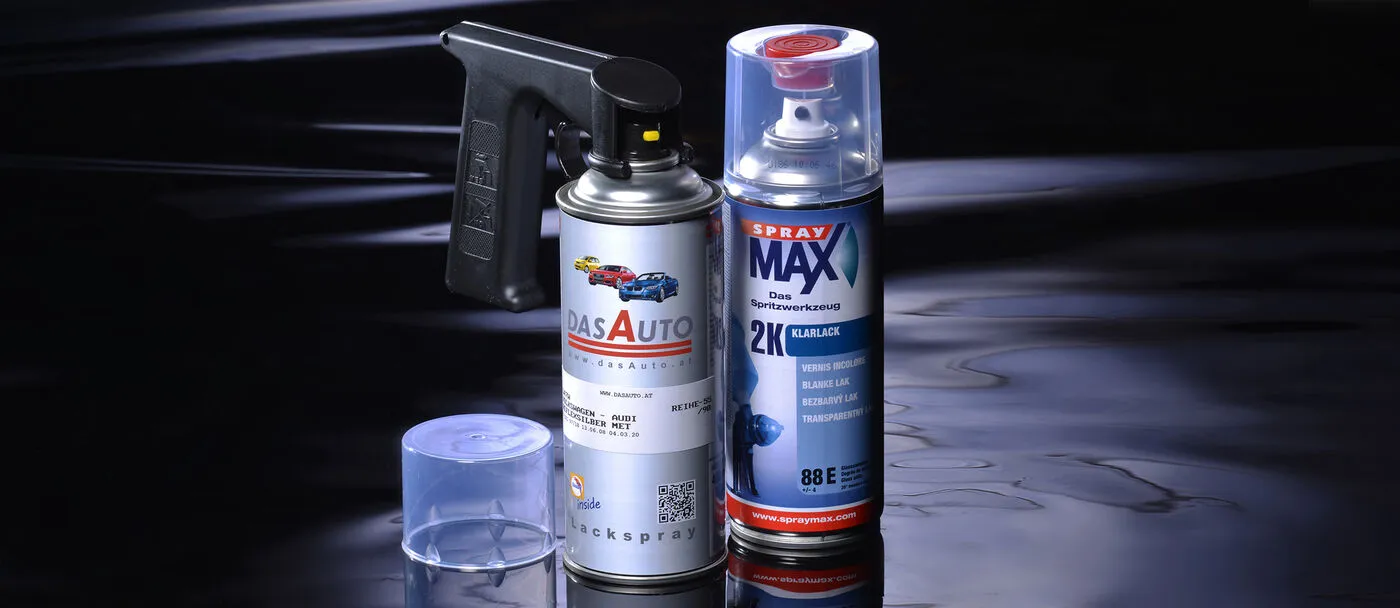
▶️ Matching Product for This Video
[dasauto_product id=”368833″]
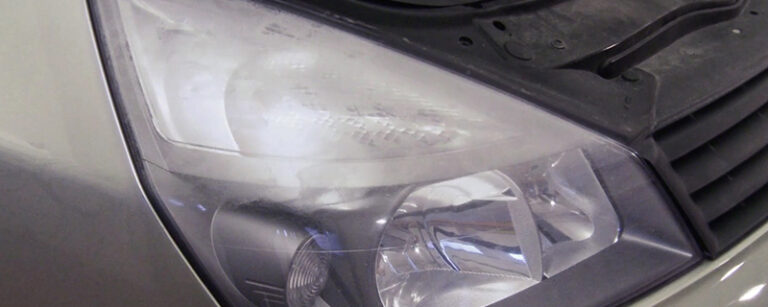
The Problem
Small dents, scratches and bumps from parking mishaps or minor accidents are annoying and lower the value of your car. A body shop often charges €500 or more for such small repairs.
With the right materials and a little patience, you can repair these damages yourself and save a lot of money!
Here’s How:
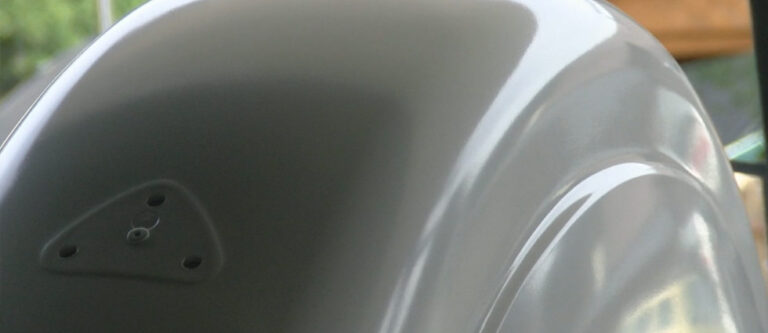
Assessment
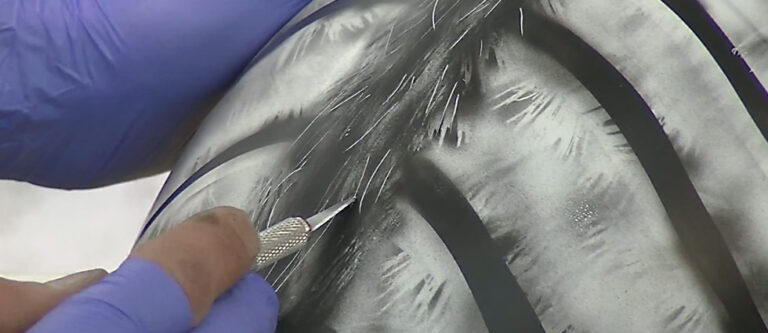
First assess the damage. Is it just a scratch in the clear coat, or has the paint been damaged down to the metal? For deep scratches down to the metal, rust protection is essential.
Preparation
Clean the damaged area thoroughly with silicone remover. Sand the area around the damage with P320-P400 sandpaper to create adhesion for the filler.
Filling
For dents: Apply filler in thin layers. Mix the filler with hardener according to instructions – not too much hardener, otherwise it sets too quickly!
Let each layer dry and sand smooth before applying the next. Build up gradually until the surface is level.
Fine Sanding
Once the filler is level with the surrounding area, sand with progressively finer grits: P400, then P600, finally P800. The surface must be perfectly smooth.
▶️ Pro Tip
For paintless dent repair, heat the panel with a heat gun first – the metal becomes more flexible! This works great for small dents without paint damage.
Priming
Mask off the surrounding area. Apply filler/primer in 2-3 thin coats. Let it dry for 30 minutes, then sand with P600-P800 wet sandpaper.
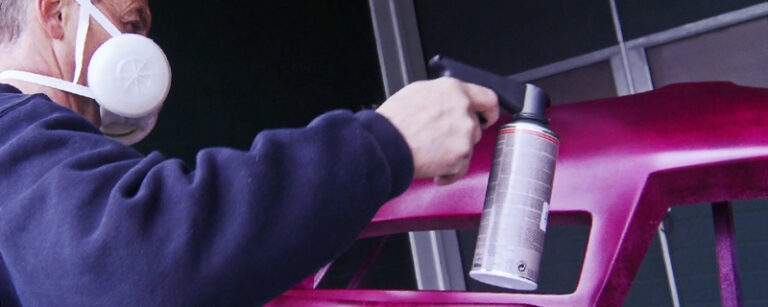
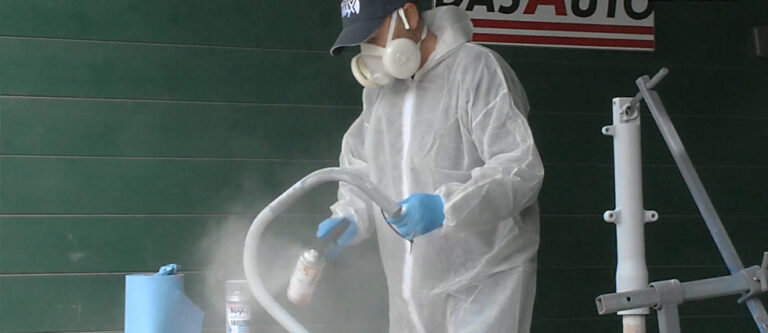
Painting
Apply base coat in 2-3 thin layers. Keep 25-30cm spray distance. Let flash off 5 minutes between coats. Then apply 2K clear coat in 2-3 layers.
Finishing
After 24-48 hours, polish the repaired area with polishing compound to blend it with the surrounding paint. The result should be virtually invisible!
⚠️ Warning
Always work in thin layers! Thick layers of filler crack, thick layers of paint run. Patience is key to a professional result.