#11: Assembly 2
#11: Assembly 2
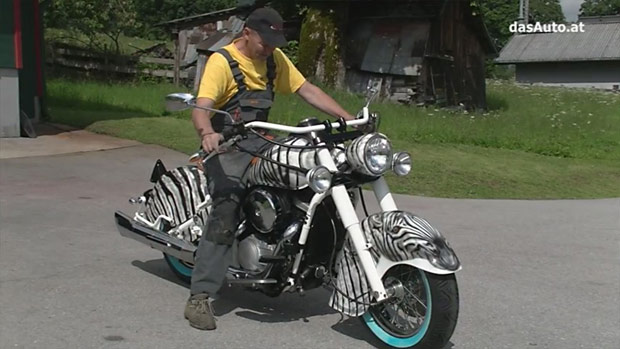
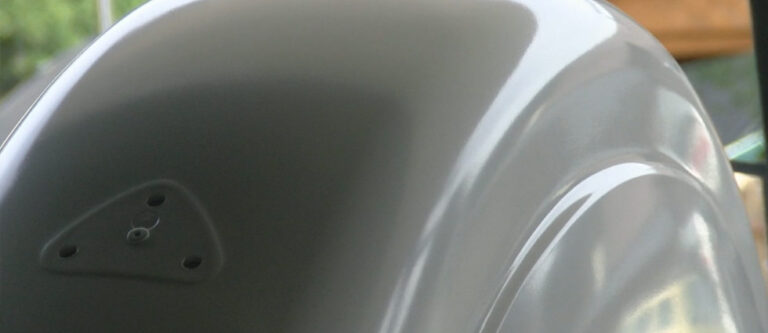
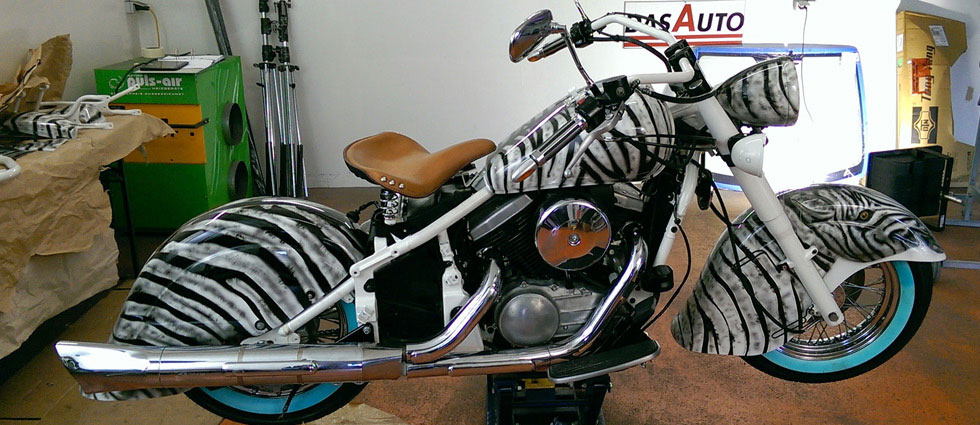
The finish line in sight—tank, fairing, and final details
EPISODE
11 of 12
DIFFICULTY
Medium
TIME REQUIRED
1 day
Video Tutorial
Work Steps:
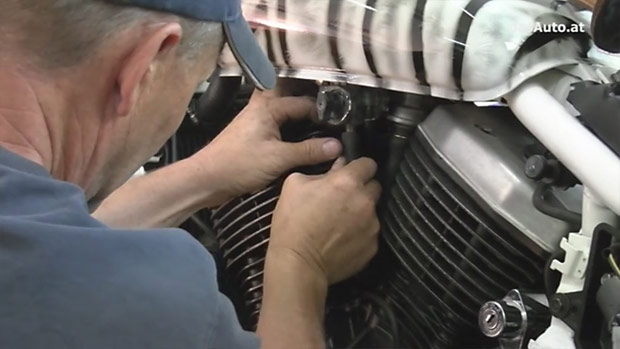
1
Body parts
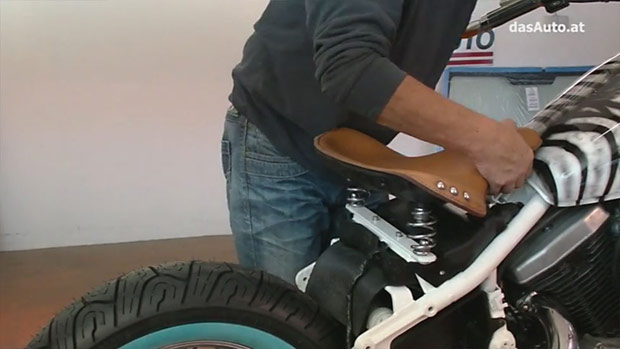
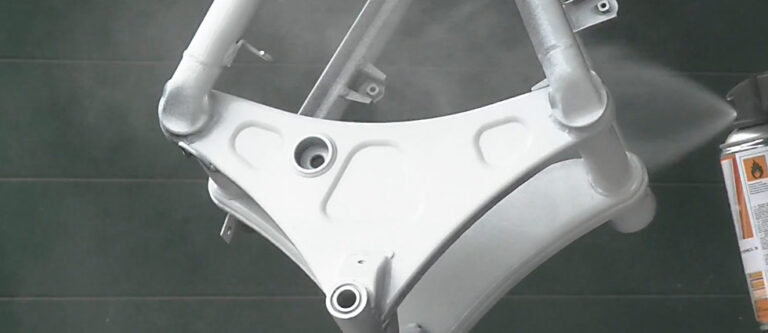
The tank, side covers, and fenders are installed. Use new rubber grommets!
2
Electrics
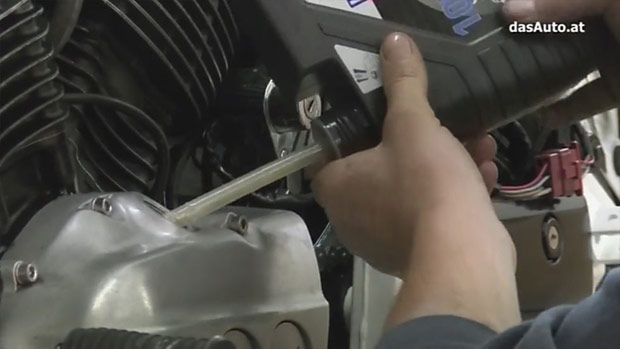
Connect all lights, turn signals, and instruments. Check all functions.
3
Final checks
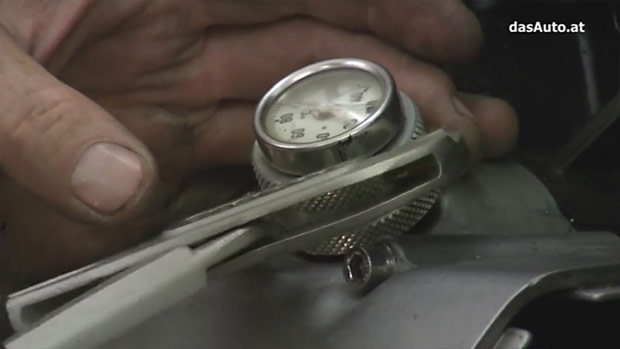
Check that all screws are tightened correctly. Test brakes and throttle response.
4
First start
Fill with fresh oil and fuel. The big moment: first engine start!
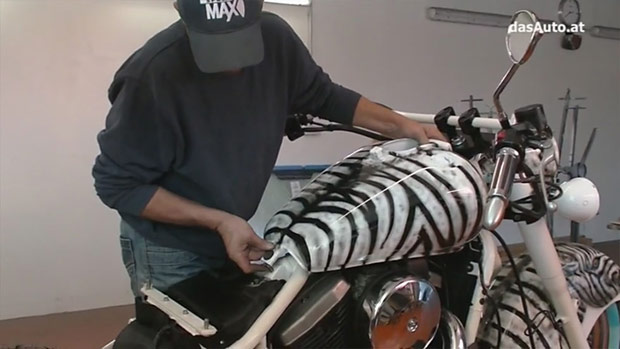
Almost There!
The finish line is in sight! The painted parts are finally mounted. The Kawasaki slowly takes shape and looks better than ever.
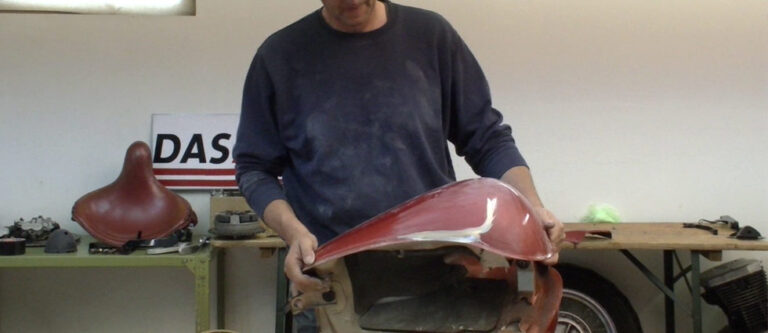
Pro Tip
Use microfiber cloths when handling painted parts. Fingerprints show immediately on fresh paint!
Final assembly