Kawasaki Drifter

#01: Disassemble completely

▶️️ #01: Disassemble completely

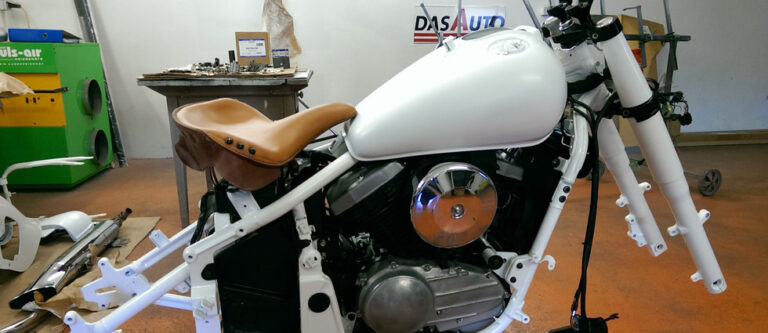
The beginning of a big project – the Kawasaki Drifter is completely disassembled

▶️
Episode
1 of 12
▶️
Difficulty
Medium
⏱️
Time Required
1-2 days

Video Tutorial

▶️ Recommended SET

Complete Paint Set for Motorcycles

Go to Shop →

Work Steps:

1

Documentation

Before disassembly: Take photos! Photograph every screw, every cable, every connection. This helps enormously later during reassembly.

3

Electrics

Disconnect the battery, then systematically disconnect all electrical connections. Mark the plugs!

4

Engine & Gearbox

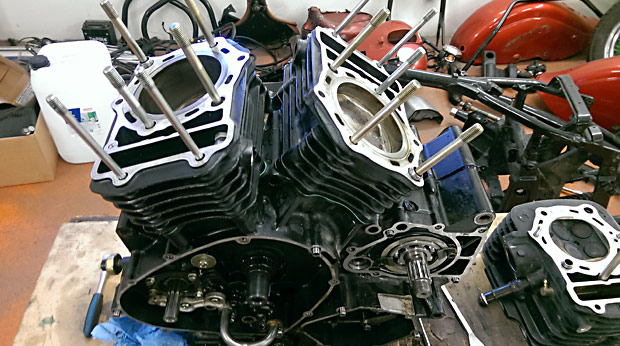
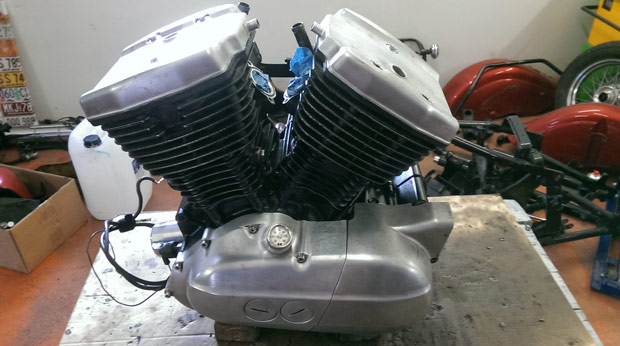
The engine is removed and stored separately. Drain the oil first!

The Project

The Kawasaki VN800 Drifter – a real gem in Indian style. After many years on the road, it needs a complete restoration.

In this episode the big adventure begins: Everything has to come off! Tank, fairings, engine, wheels – piece by piece the machine is disassembled.

2

Tank & Fairings

First, the tank and all fairing parts come off. Store screws and small parts in labeled bags.

Pro Tip

Use magnetic screw trays and label everything! A smartphone video of the disassembly can be worth gold during reassembly.
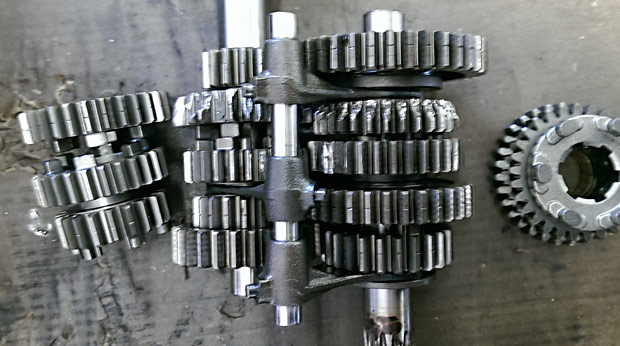
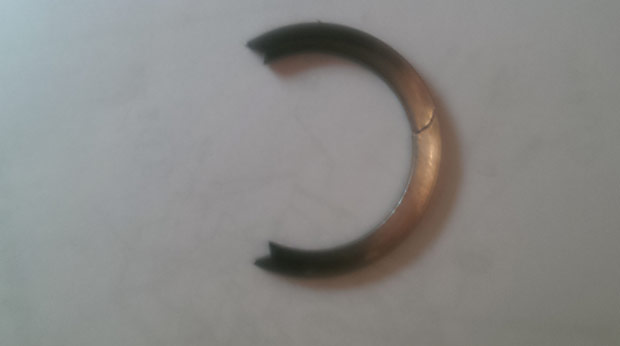
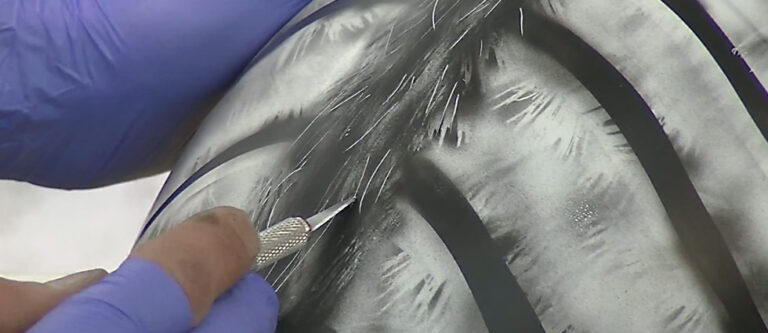
Similar Posts

  • #09: Zebra Airbrush

    Project Kawasaki Drifter / Episode 09 #09: Zebra Airbrush A work of art on two wheels—the unique zebra look is created EPISODE 9 of 12 DIFFICULTY Expert TIME REQUIRED 2-3 days Video Tutorial Recommended SET Airbrush Color SET Go to Shop → Work Steps: 1 Design Create the zebra pattern design. Mark the lines on…

  • #12: The reward

    Project Kawasaki Drifter / Episode 12 #12: The reward DONE! The Kawasaki Drifter shines in new splendor EPISODE 12 of 12 DIFFICULTY Enjoy! TIME REQUIRED Done! Video Tutorial The Result After months of hard work, it’s finally done: the Kawasaki VN800 Drifter shines in new splendor! The result: a unique show bike with hand-painted zebra…

  • #08: Assembly 1

    Project Kawasaki Drifter / Episode 08 #08: Assembly 1 Finally! The frame and engine are reunited EPISODE 8 of 12 DIFFICULTY Medium TIME REQUIRED 1 day Video Tutorial Work Steps: 1 Engine installation Carefully insert the engine into the frame. Check the engine mounts! 2 Wheel mounting Install front and rear wheels. Check bearing play…

  • The Classic: Rust on Fender and Door Sill

    EasyRepair / Fender Rust Repair ▶️ The Classic: Rust on Fender and Door Sill Repair typical rust spots on wheel arch and sill in 6 steps ▶️DifficultyMedium ⏱️Time5-7 Hours ▶️Cost~€200 ▶️Savings€1800 Complete Video Tutorial (6 Parts) The Problem Ugly, highly visible rust spots on the lower edge of the fender and door sill on both…

  • |

    Spot Repair – Partial Paint Repair

    EasyRepair / Spot Repair ▶️ Spot Repair – Partial Paint Repair Professionally repair small paint damage without complete repainting ▶️ Difficulty Medium ⏱️ Time 2-4 Hours ▶️ Cost €50-100 ▶️ Savings €300-600 vs. Body Shop Video Tutorial ▶️ Matching Product for This Video [dasauto_product id=”368832″] The Problem Larger scratches, parking damage, or small dents with…

  • |

    Polishing and Waxing with Machine

    EasyRepair / Polishing & Waxing ✨ Polishing and Waxing with a Polisher Restore shine and protect your paint ▶️ Difficulty Easy-Medium ⏱️ Time 2-4 Hours ▶️ Cost €30-80 ▶️ Savings €200-500 vs. Detailer ▶️ Tools Polishing Machine ▶️ Video Tutorial ▶️ Matching Product for This Video [dasauto_product id=”368402″] Why Polish? Over time, car paint loses…